SPIRA’s goal is to take microalgae cultivation beyond the academic and research sphere, making the benefits and knowledge associated with this practice accessible. Although microalgae have demonstrated considerable potential, their applications on a personal scale are still insufficiently explored, remaining mostly confined to the industrial context.
SPIRA aims to reverse this perspective, highlighting how feasible and advantageous it is to adopt microalgae cultivation systems on a small, accessible and easily controlled scale.
The ambition is to exploit the biodesign methodology to bridge the gap between specialised research and general knowledge, promoting inter-species collaboration with microalgae as a viable and concrete tool to address the challenges of the climate crisis.
You can download the full project here.
WHAT IS MICROALGAE?
Cyanobacteria are among the oldest life forms on Earth's surface.
In particular, they were the first photosynthetic organisms, playing a primary role in Earth's oxygenation and subsequently the appearance of complex life forms.
Microalgae and cyanobacteria produce 60-75% of the oxygen that we and other animals breathe, more than any other plant distribution on land. They form the basis of the aquatic food chain and their incredible biodiversity makes them widely distributed in different ecosystems and a complex, largely unexplored field of research.
HOW DO THEY RELATE TO CLIMATE CHANGE?
Today, it is one feature in particular that stands out above all others: the ability of microalgae to absorb carbon dioxide.
In July 2023, the average CO2 concentration in the atmosphere is 421.76 ppm.
The increase in CO2 is the main cause of anthropogenic global warming, 91% of which is due to the use of fossil fuels and 9% to land use; moreover, carbon dioxide is highly long-lived, so much so that even if its emission were to be stopped tomorrow, the effects of its presence would continue for hundreds of years.
The ability of microalgae to absorb this gas could play a key role in adapting to the major changes we face, today and in the future. Their elementary cell structure allows them to be much more efficient photosynthetic organisms than plants. They can grow in salt, fresh and highly alkaline water and purify waste water and can therefore be cultivated without using land area.
HOW DO THEY WORK?
The cultivation of microalgae takes place within structures called photobioreactors, characterised by inputs -light, carbon dioxide, nutrients- and outputs -oxygen, biomass-.
Photobioreactors are classified into open, pond-like, and closed, transparent structures where communication with the outside air occurs only through small openings. While open photobioreactors allow for mass and more economical cultivation, closed photobioreactors provide a more controlled and safer environment for the growth of microalgae, offering greater protection from pathogens.
Photobioreactors are classified into open, pond-like, and closed, transparent structures where communication with the outside air occurs only through small openings. While open photobioreactors allow for mass and more economical cultivation, closed photobioreactors provide a more controlled and safer environment for the growth of microalgae, offering greater protection from pathogens.
CULTIVATING MICROALGAE
The following research documents an attempt to dive into first-hand knowledge of these organisms on the borderline between DIY and scientific research.
PHASE 0: MATERIALS
Two of the most popular microalgae on the market were chosen for cultivation:
- Arthospira Platensis (Spirulina): Arthospira Platensis is a cyanobacterium, commonly recognised as blue-green algae by the name Spirulina. It has a multicellular structure (50-500 microns) that takes on a spiral shape, from which it takes its name. It grows between 25 and 35 °C, and the optimum pH is between 8 and 10.
- Chlorella Vulgaris: This is a single-celled green algae (2-10 microns). It can survive at temperatures ranging from 5 to 30 °C, and the optimum pH is between 7 and 8.
PHASE 1: PHOTOBIOREACTOR
The designated photobioreactor is an aquarium subdivided by an acrylic sheet to house both species in two cases with a capacity of 6L each.
In the rear compartment, two 6V pumps are used, which supply the microalgae with atmospheric CO2 through aquarium tubes. At the end of the tubes are airstones, aerators that atomise the incoming air to encourage the absorption of CO2 by the microalgae.
Finally, to monitor the internal temperature and humidity values, an Arduino UNO and a DHT11 temperature & humidity sensor are used, which show the data in real time on an LCD monitor positioned in the front wall of the aquarium.
Finally, to monitor the internal temperature and humidity values, an Arduino UNO and a DHT11 temperature & humidity sensor are used, which show the data in real time on an LCD monitor positioned in the front wall of the aquarium.
PHASE 2: NUTRIENTS
We chose to follow the ingredients of Zarrouk's Medium, the most widely used culture medium for microalgae, and use a solution of 3L each. The ingredients are weighed and mixed appropriately, and then poured into the aquarium togheter with the microalgae.
At this point, the pH is checked using common litmus paper and adjusted with sodium bicarbonate (NaHCO3) -to raise the pH- and sulphuric acid (H2SO4) -to lower it-.
Once a week, nutrients are suppliedm regularly in a 500 ml solution by mixing the culture to improve distribution in the volume of the theca.
PHASE 3: UPGRADES
A tank with a new culture of Spirulina is added and modifications are made to the photobioreactor to optimise its utility and energy efficiency. First, the electronic components are reduced in size, so the Arduino UNO is replaced by an Arduino NANO with a WiFi module to transmit data to the Arduino IOT application. In addition, the LCD screen is replaced by an OLED that uses a button on the side of the structure to display the project logo, real-time temperature and humidity, and a graph showing the temperature trend over the past 12 hours.
PHASE 4: BIOMASS
Exactly 4 weeks after the start of the culture, the biomass is harvested, as good amounts of sediment could be seen inside the cases during mixing. A 5 microns filter is used both for the biomass of the Chlorella -around 15 microns- and that of Spirulina -30 microns-.
For the first harvesting, only 500ml of culture is filtered: the filter is placed on a funnel and several cycles are carried out until no more sediment can be seen in the liquid.
The biomass remaining on the filter, which is dark green in colour, is collected with a spoon.
The filtered liquid is also stored, which could be reinserted into the aquarium but in this case is replaced by new nutrients to encourage new biomass formation.
The process resulted in approximately 12.6g of wet biomass for Chlorella and 14.3g for Spirulina. These samples were then oven-dried for one hour at a temperature of 80 °C, resulting in a dry biomass of ...
The biomass is now ready for consumption, while the filtered liquid is excellent for use as fertiliser.
After a further four weeks, the culture has turned a distinct shade of dark green, so the biomass is harvested again, this time filtering 1.5L per tank. The process yields 31.6g of wet biomass for Chlorella and 62.3g for Spirulina. In this case, it is decided to dry the harvest in the sun to avoid spoilage of the material: Chlorella takes about 6 hours to dry out, while Spirulina takes 8 hours. Thus, 1.38g (4.3%) of dry biomass is collected for Chlorella and 1.73g (2.7%) for Spirulina.
PHASE 5: EXPERIMENT
At this point, it is decided to conduct an experiment to assess the effectiveness of microalgae in absorbing carbon dioxide. The aim of the test is to show that, in an environment with a high CO2 concentration, the activity of microalgae can contribute significantly to reducing the CO2 level.
An airtight structure is therefore designed inside which the photobioreactor is placed. The hypothesis is that by placing a lit candle inside to generate a high level of CO2, the activity of the microalgae will help to gradually reduce it. Since there is no gas exchange between the inside of the structure and the outside environment, if the CO2 level decreases, it is because the microalgae are consuming it to produce oxygen.
Two infrared CO2 sensors are therefore positioned at two different inside the structure for greater accuracy.
The values of both sensors are then measured from the 5000ppm peak, reached when the combustion of the candle has consumed all the air inside the structure.The data is recorded every hour for the next 24 hours.
From the analysis of the data collected and the related trend graph, it can be seen that over a 24-hour period, CO2 was reduced from 5000ppm to 2226ppm with a decrease of 55.48%, thus demonstrating how the photosynthesis carried out by the microalgae helped to purify the indoor environment.
SPIRULINA: [DAY 065]
C02 LEVEL: 824ppm
TEMPERATURE: 25°C
HUMIDITY: 86%
C02 TREND:
TEMPERATURE TREND:


SPIRA: DIY

Detailed instructions are provided for making a simple microalgae photobioreactor yourself, adaptable to varying degrees of expertise. This reflects the independent design philosophy inherent in the field, making the practice truly accessible to anyone.
DIY - BASIC

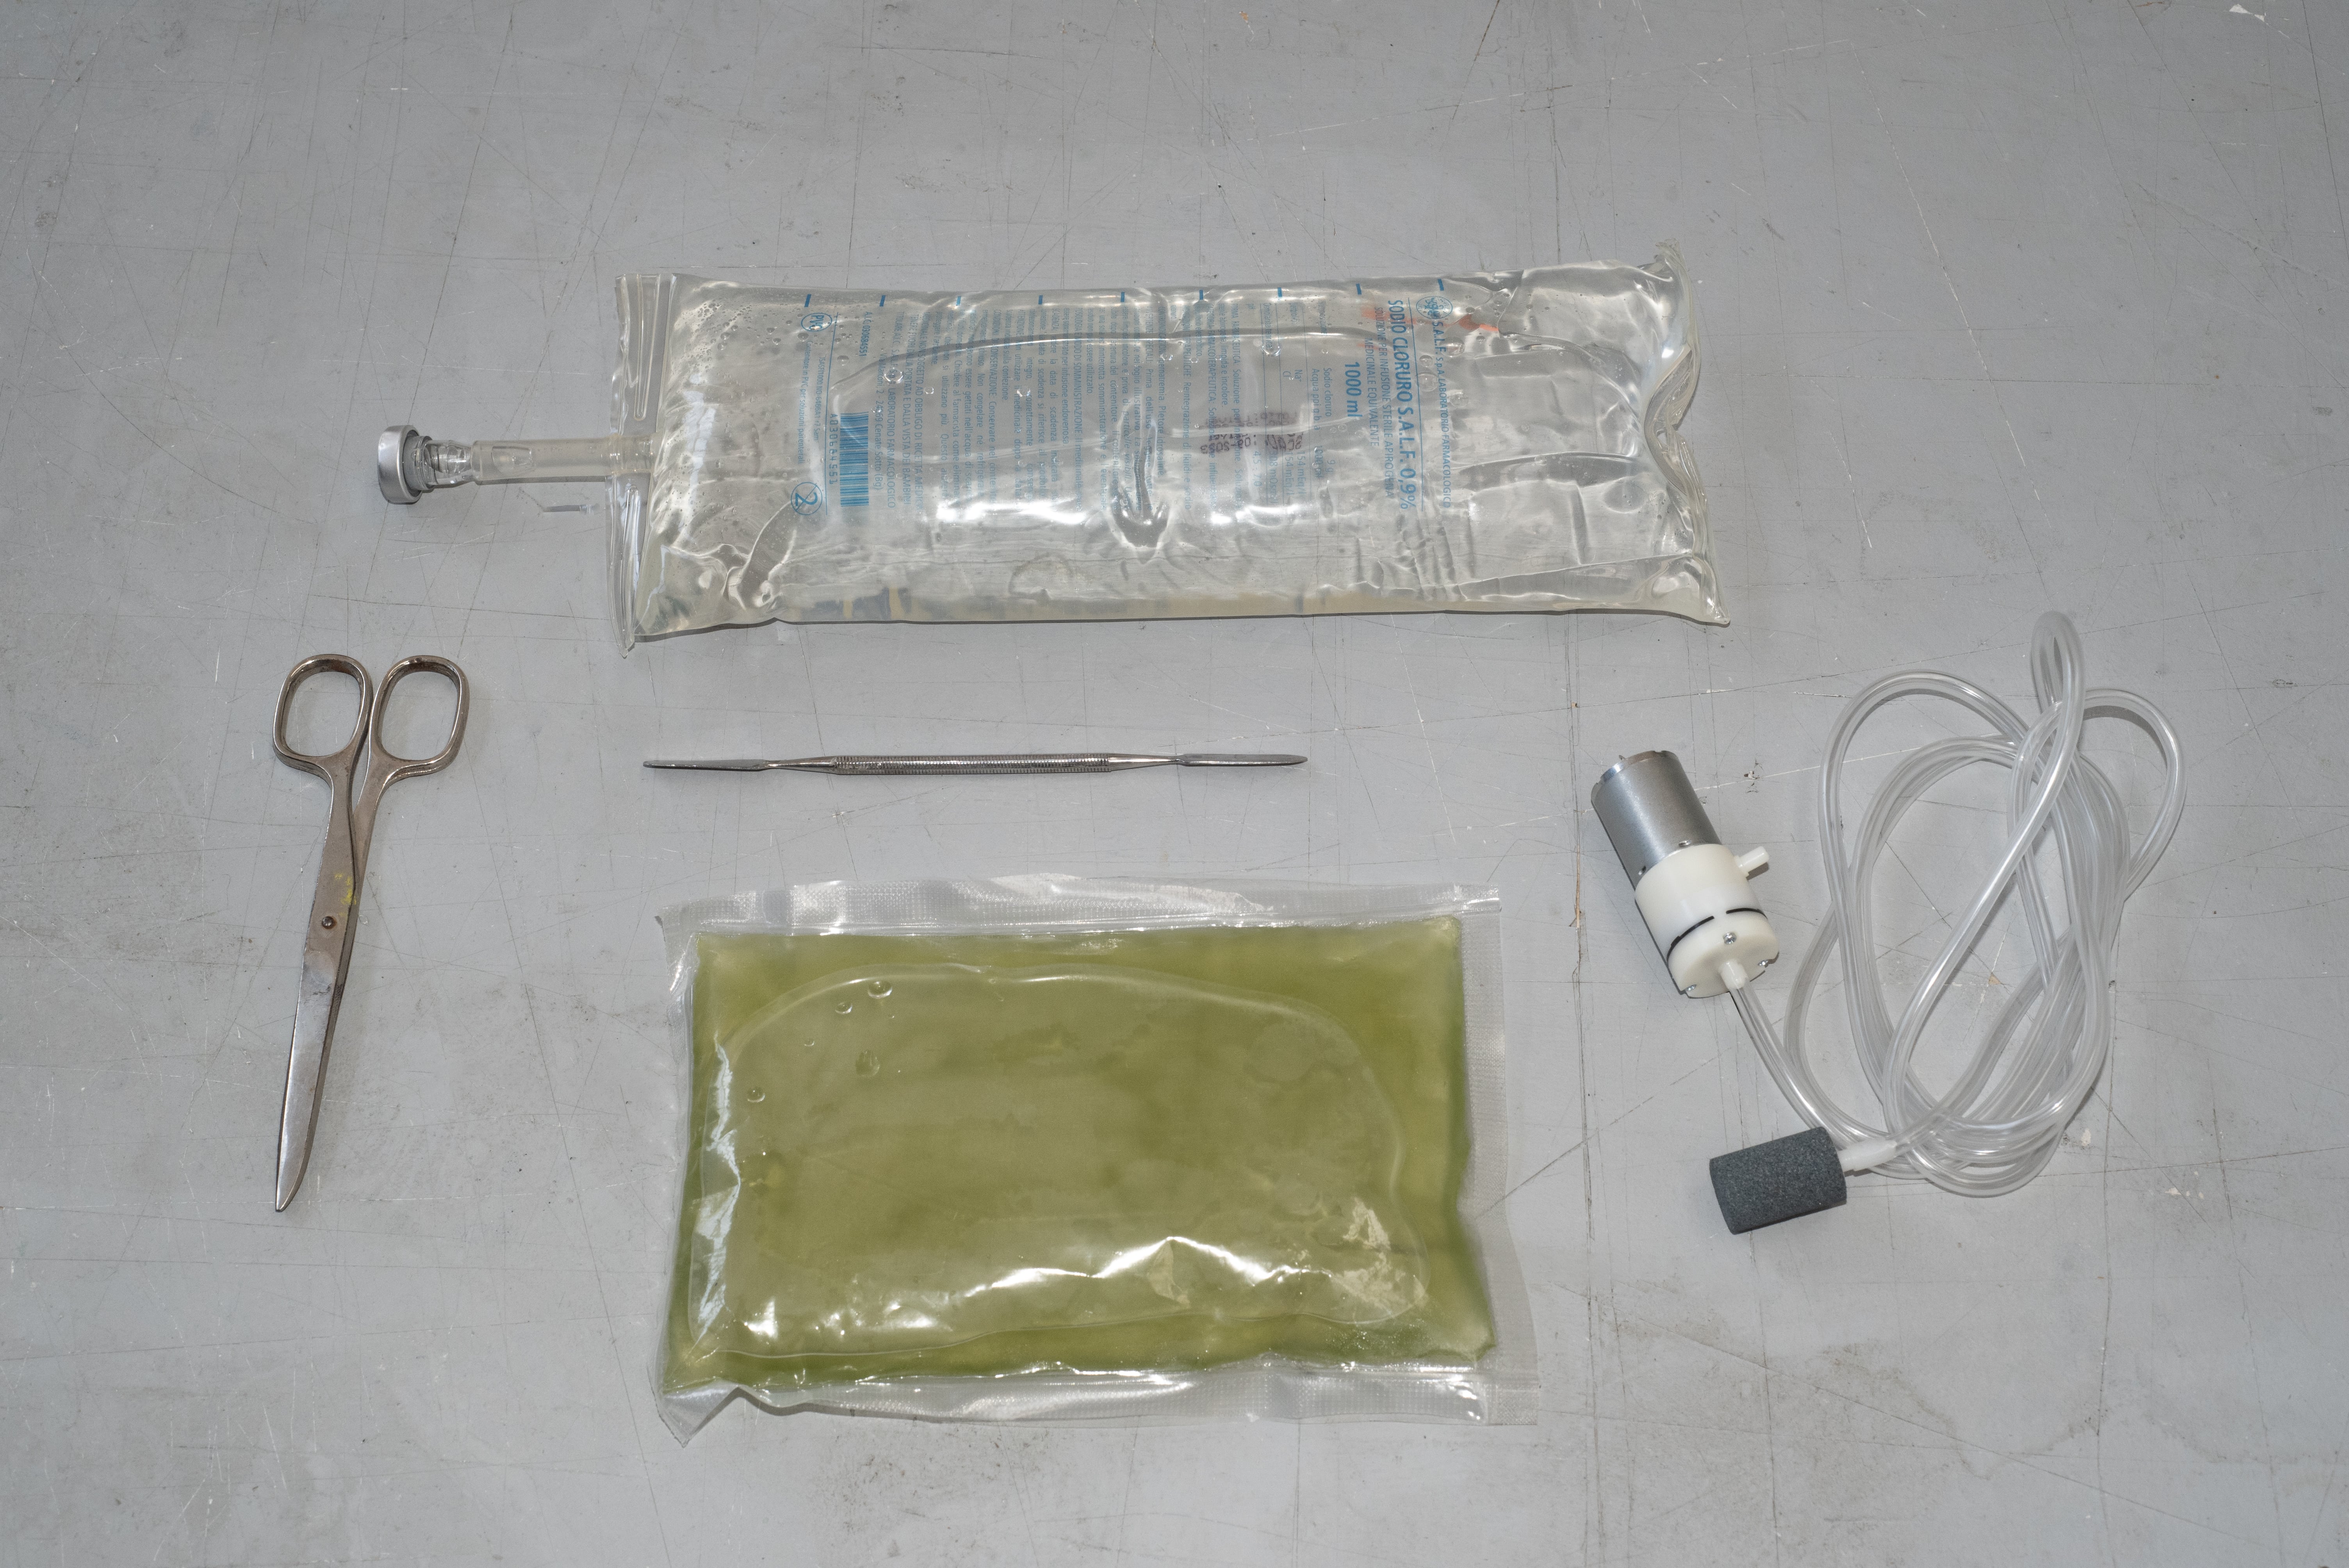

MATERIALS
| MATERIALS | QUANTITY | PRICE |
|---|---|---|
| MICROALGAE & NUTRIENTS | 2000 mL | ~€20 |
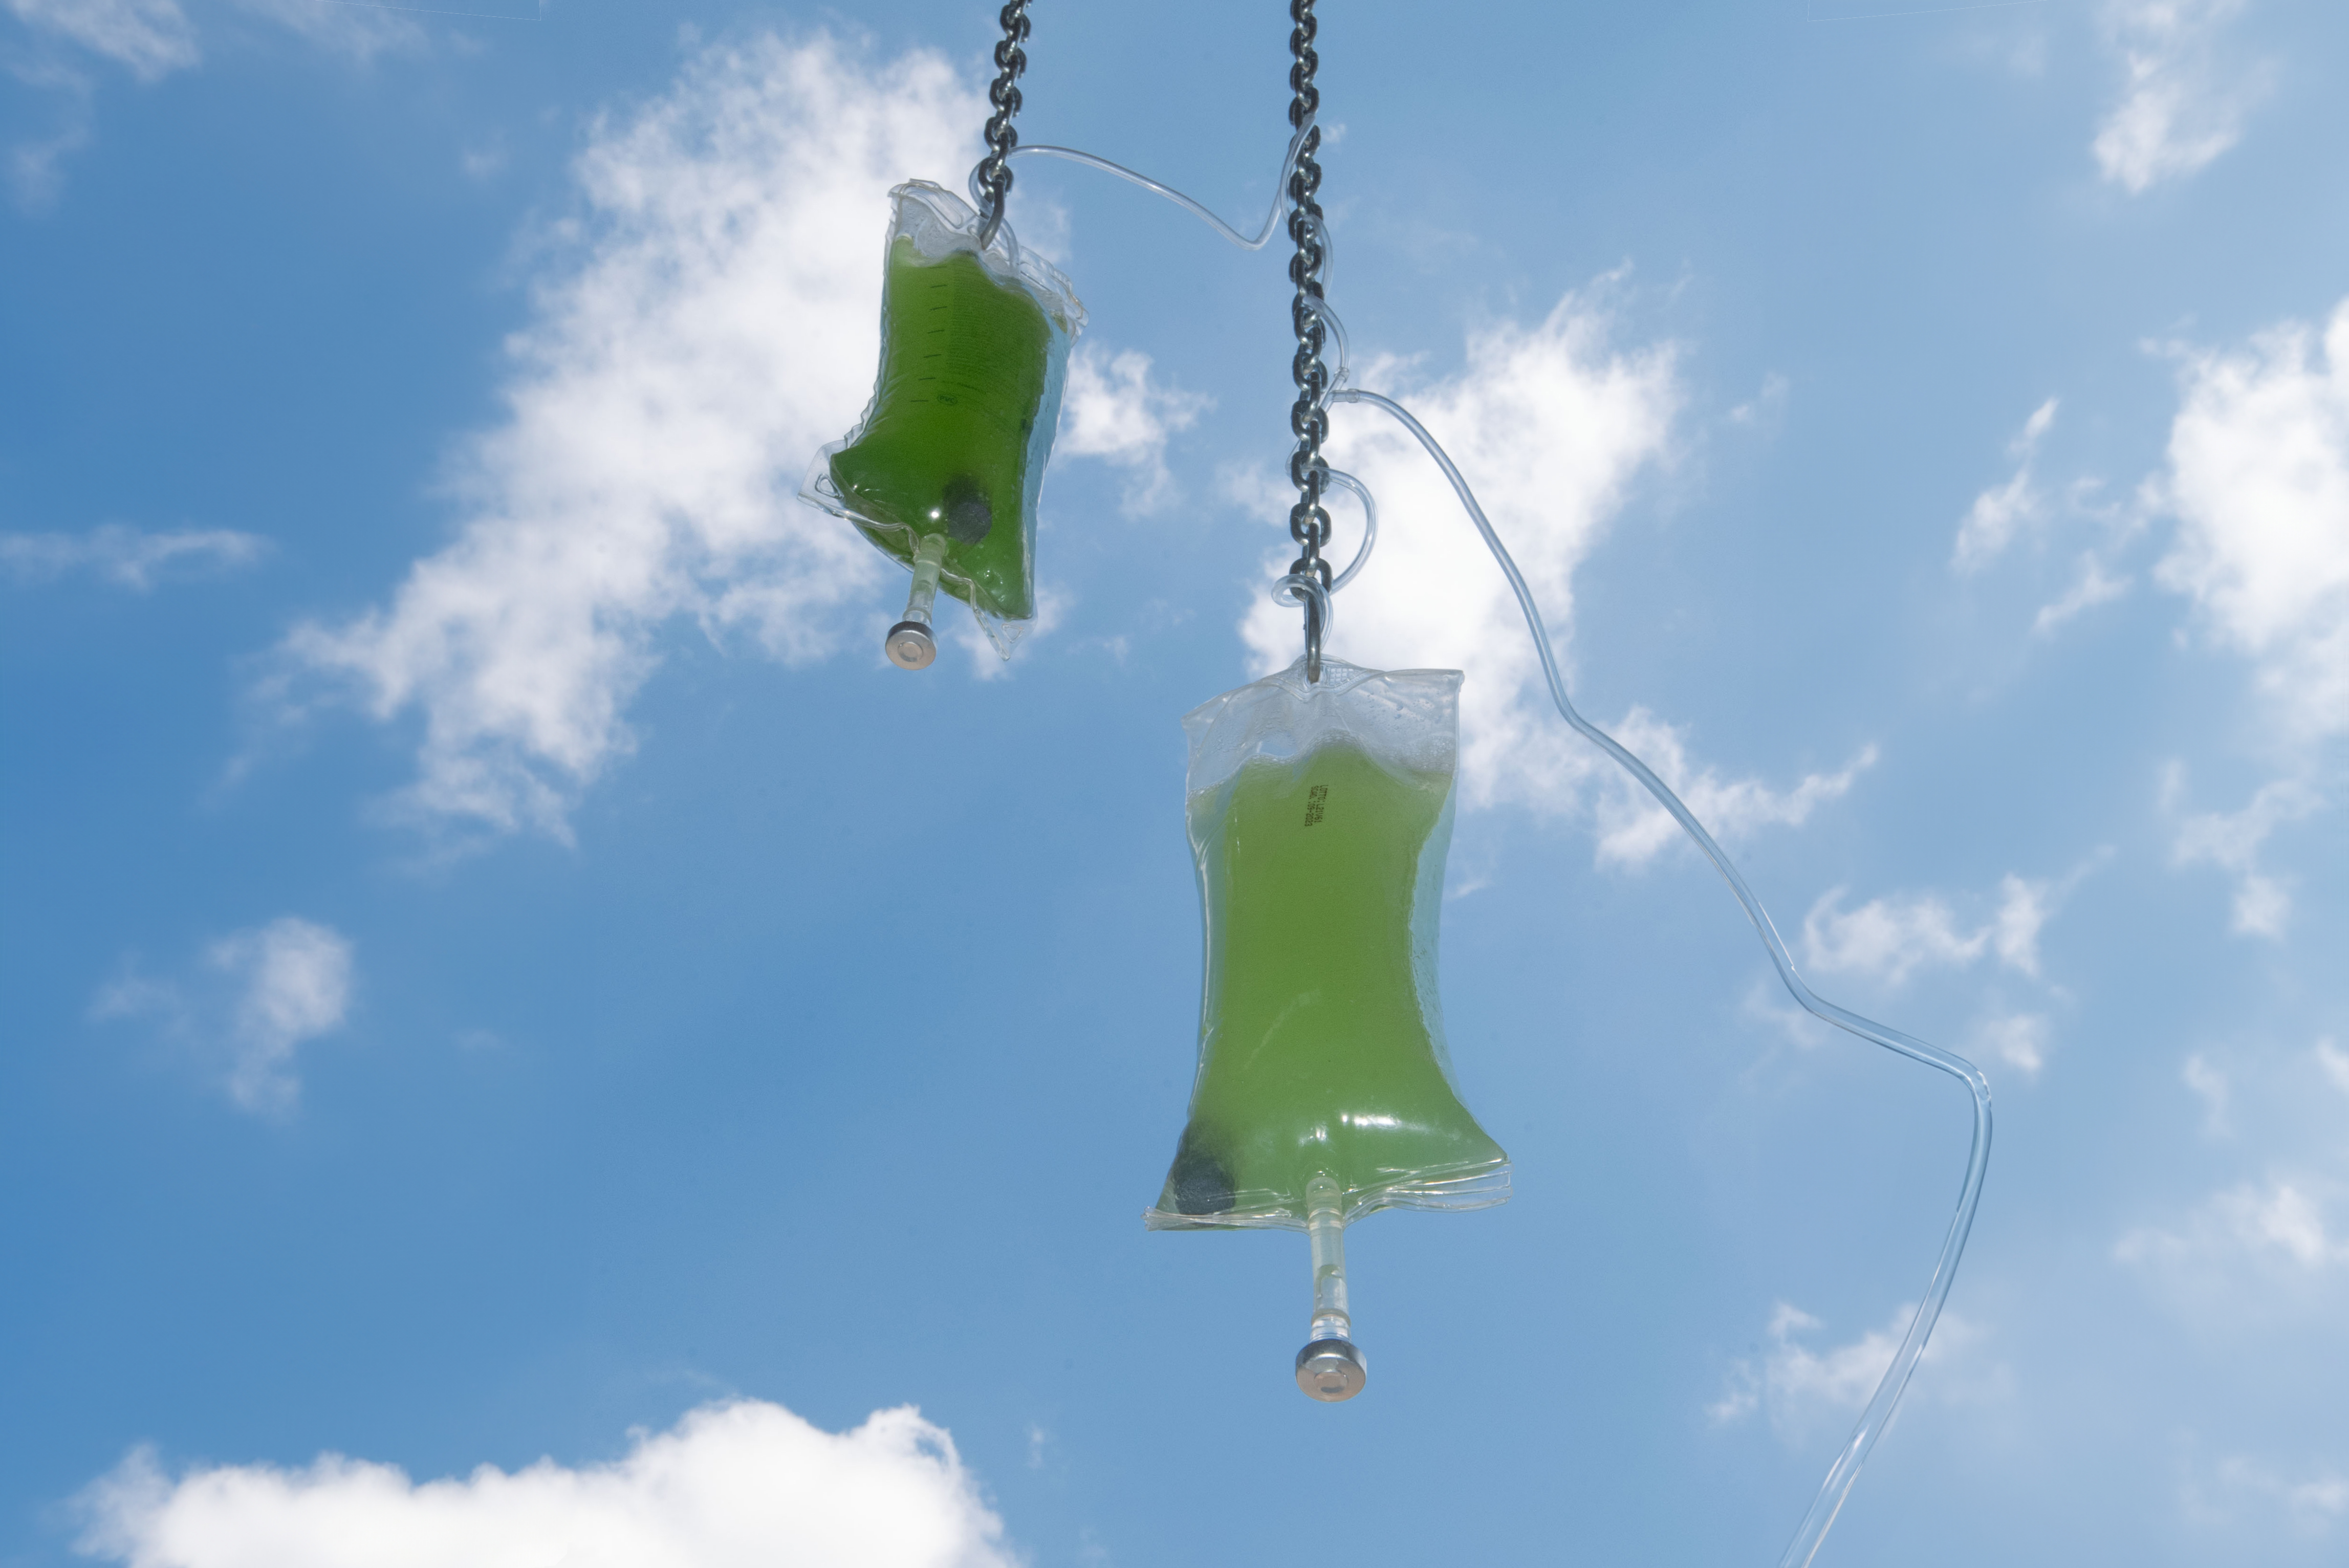
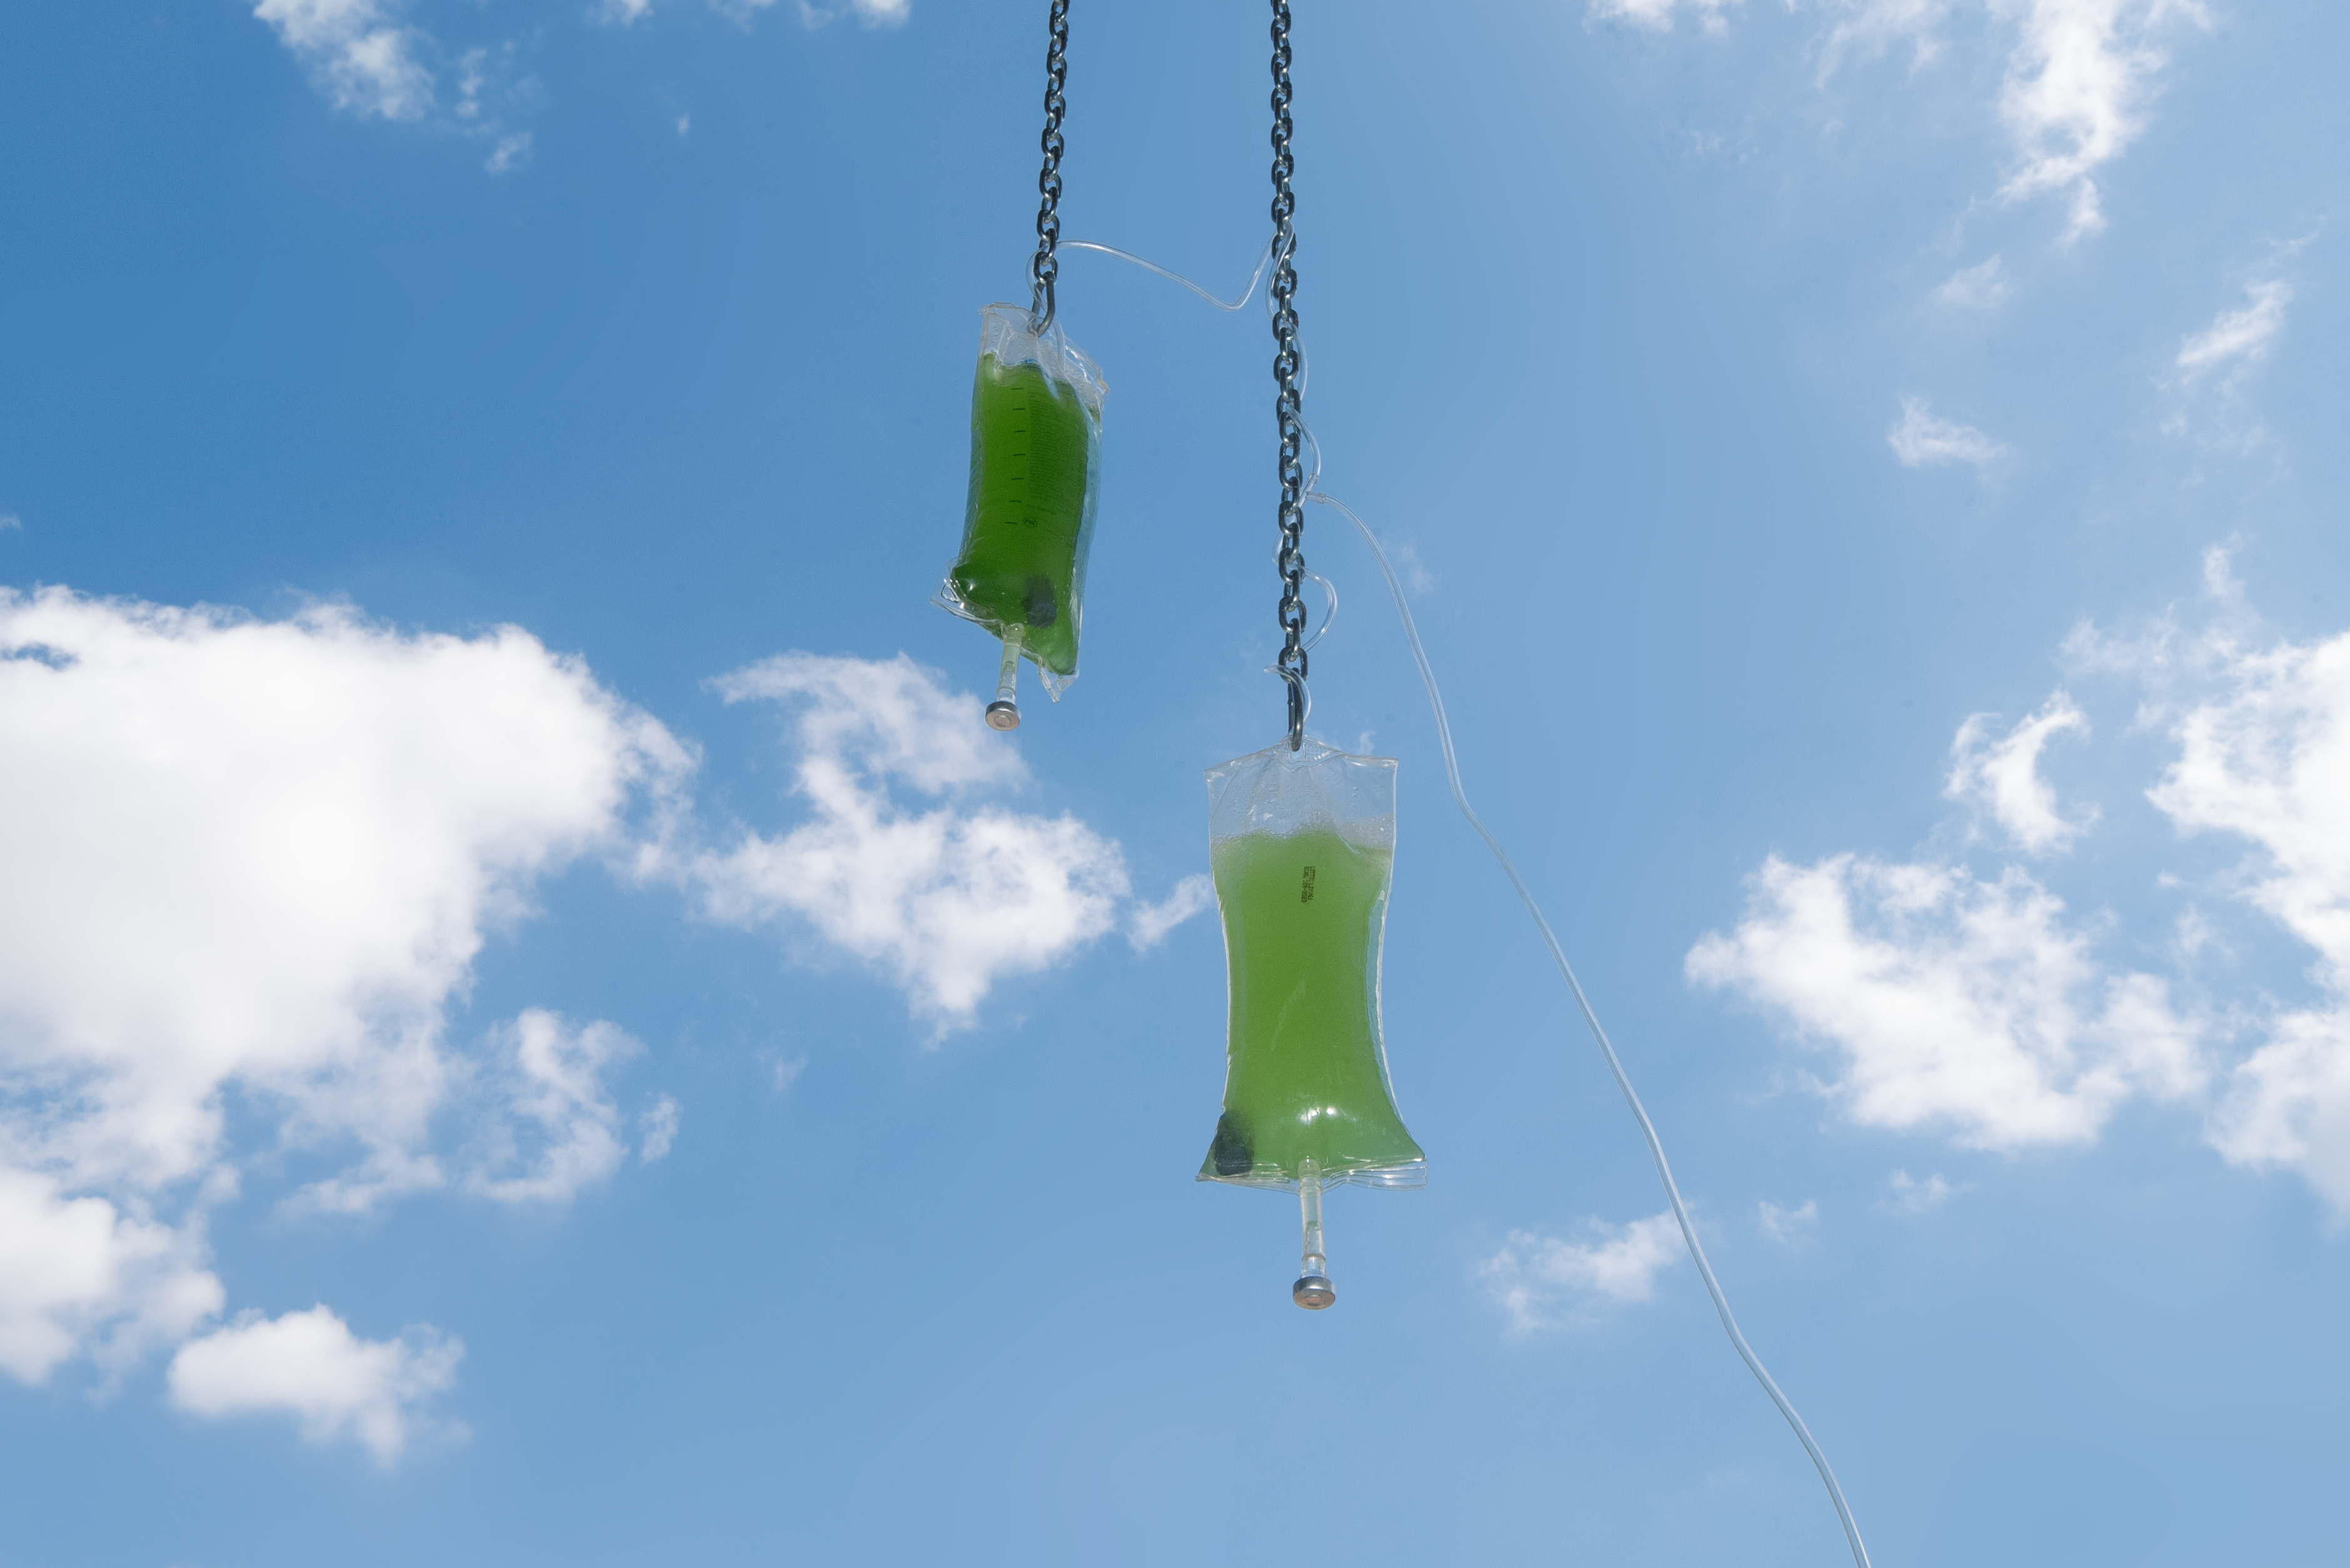
| IV BAG (1L) | 1 | €6 |
| USB AQUARIUM PUMP | 1 | €15 |
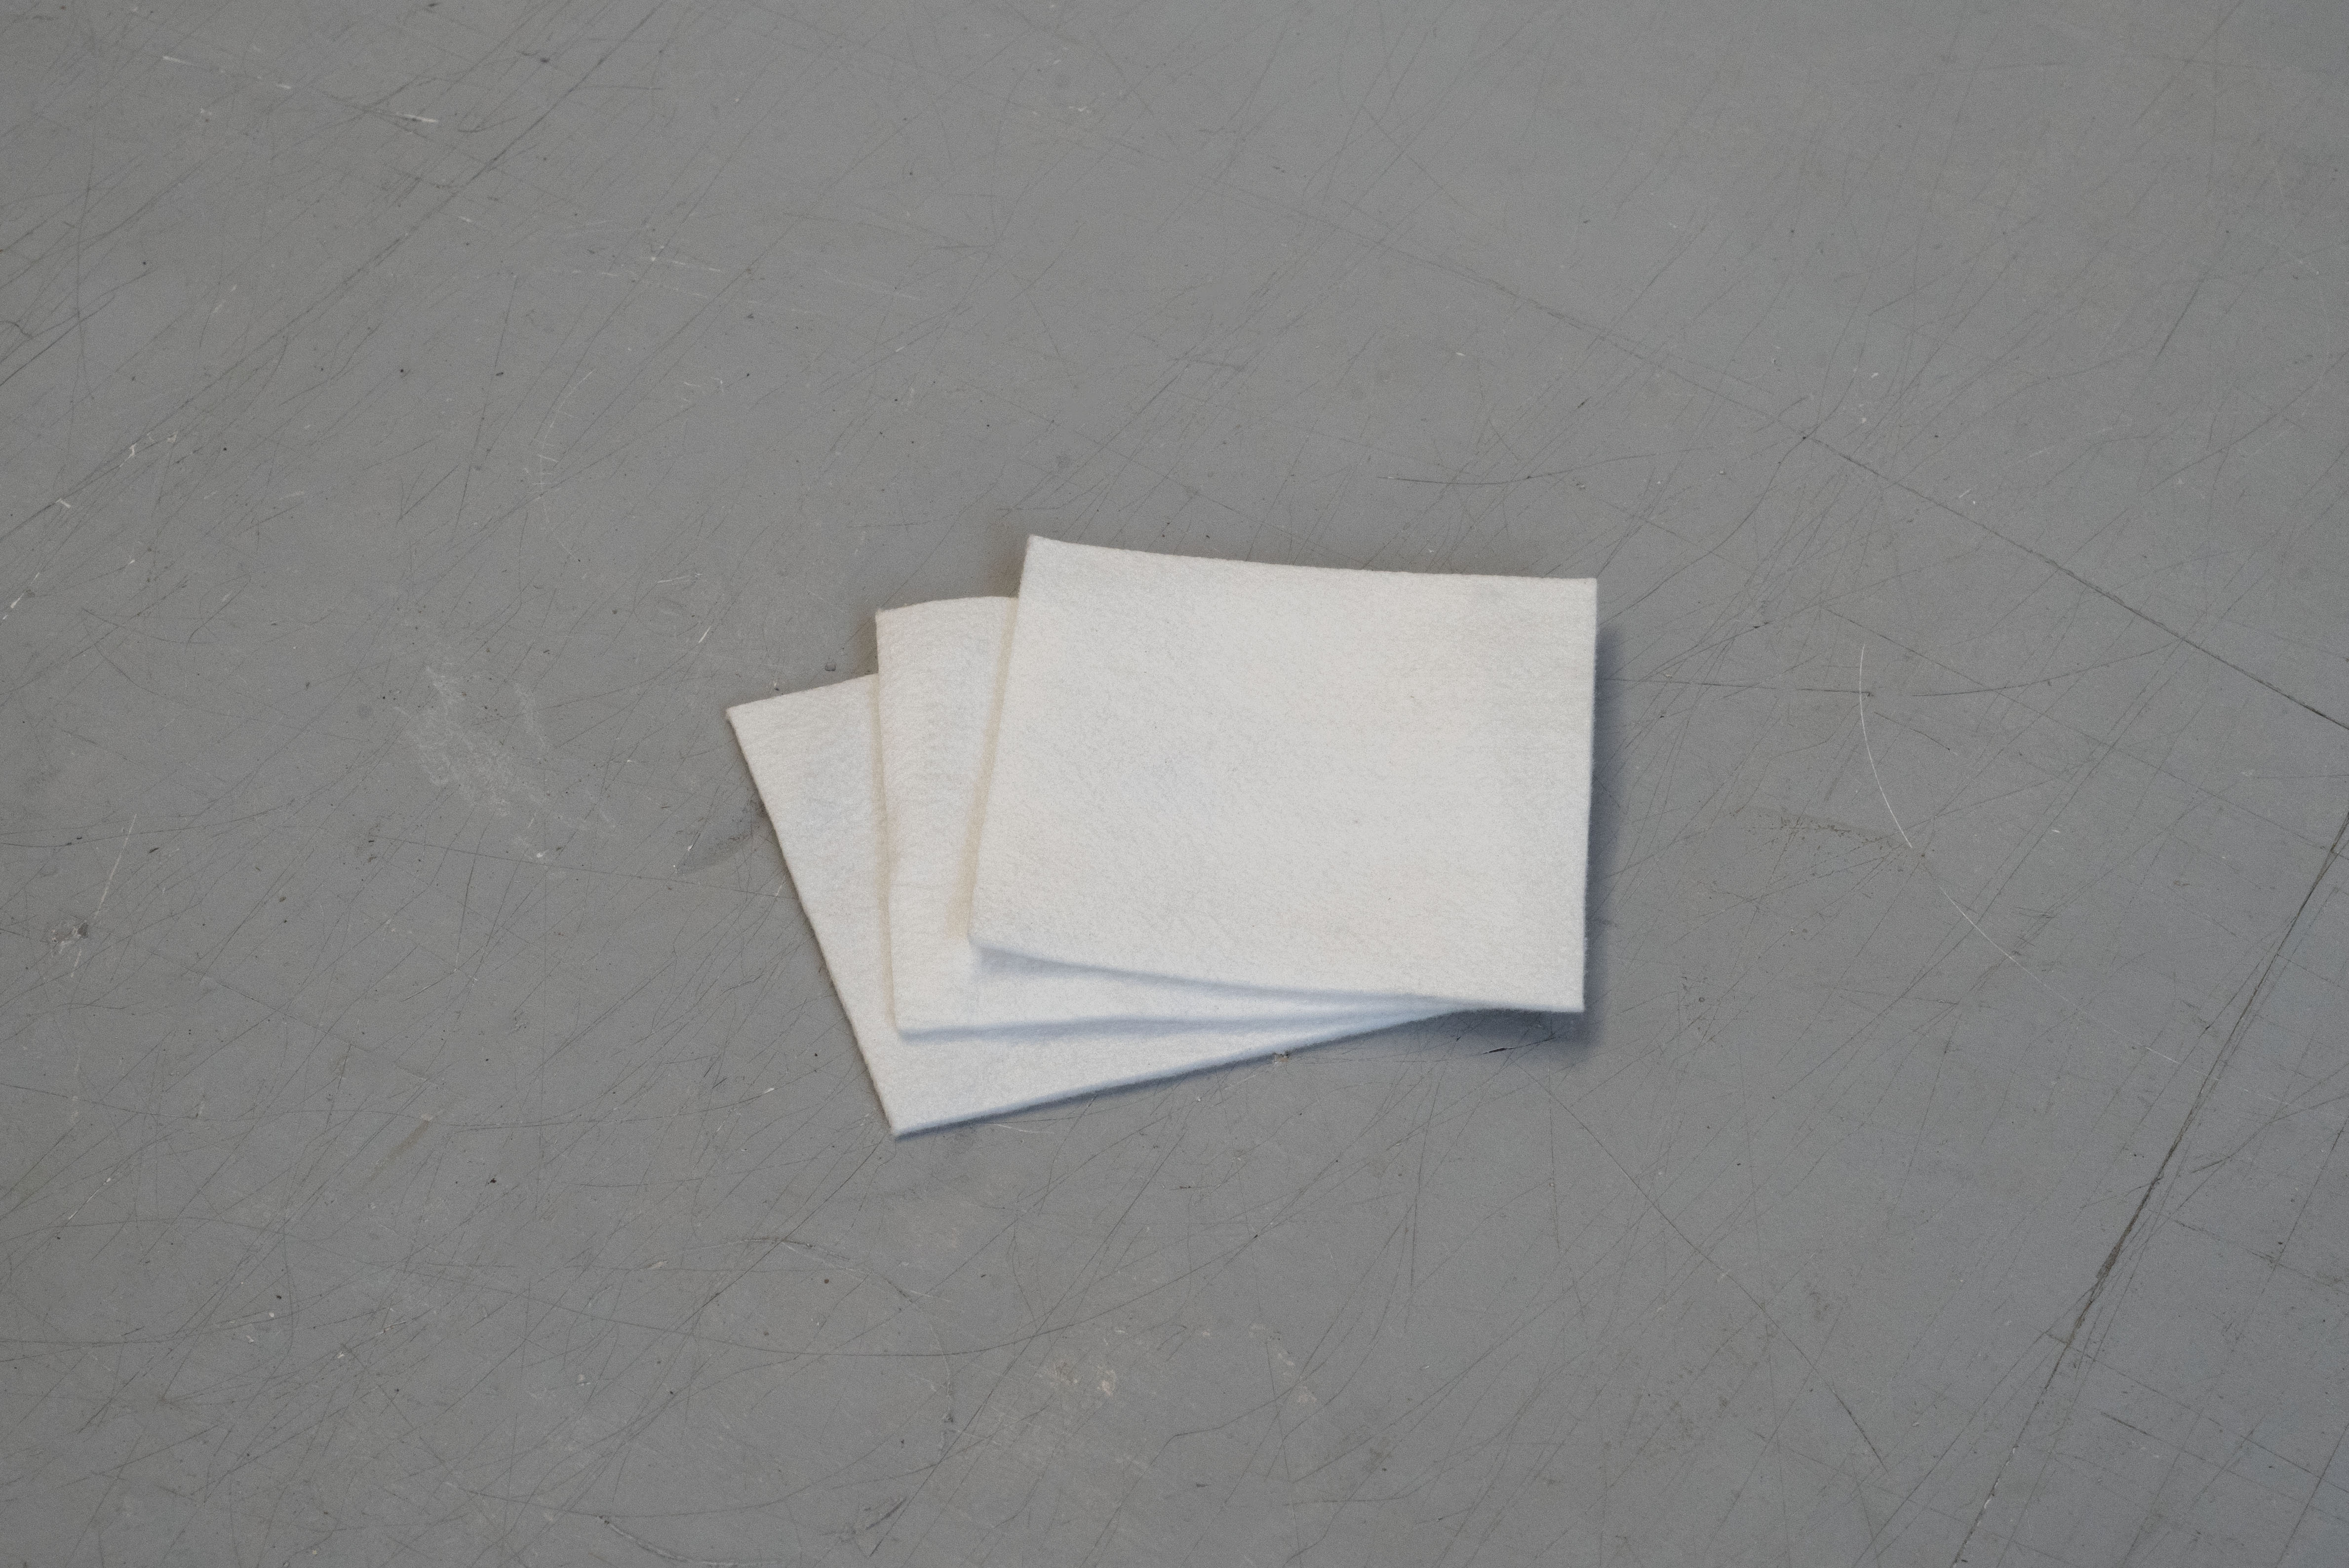
| 5µm FILTER | 1 | €12 |
| TOT: | €53 |
INSTRUCTIONS
- Remove the cap of the bag from the side with the help of a screwdriver
- Drain the liquid inside and close the bag.
- Cut a hole of about 1 cm at the top of the IV bag.
- Insert the tube with the diffuser inside the bag.
- Pour the nutrients inside using a syringe or funnel.
- Pour in the microalgae.
DIY - ADVANCED

MATERIALS
| MATERIALS | QUANTITY | PRICE |
|---|---|---|
| MICROALGAE & NUTRIENTS | 200 mL | ~€20 |
| IV BAGS | 1-5 | €6 |
| 6V PUMP | 1 | €2 |
| AIRSTONES | 1-5 | €2 |
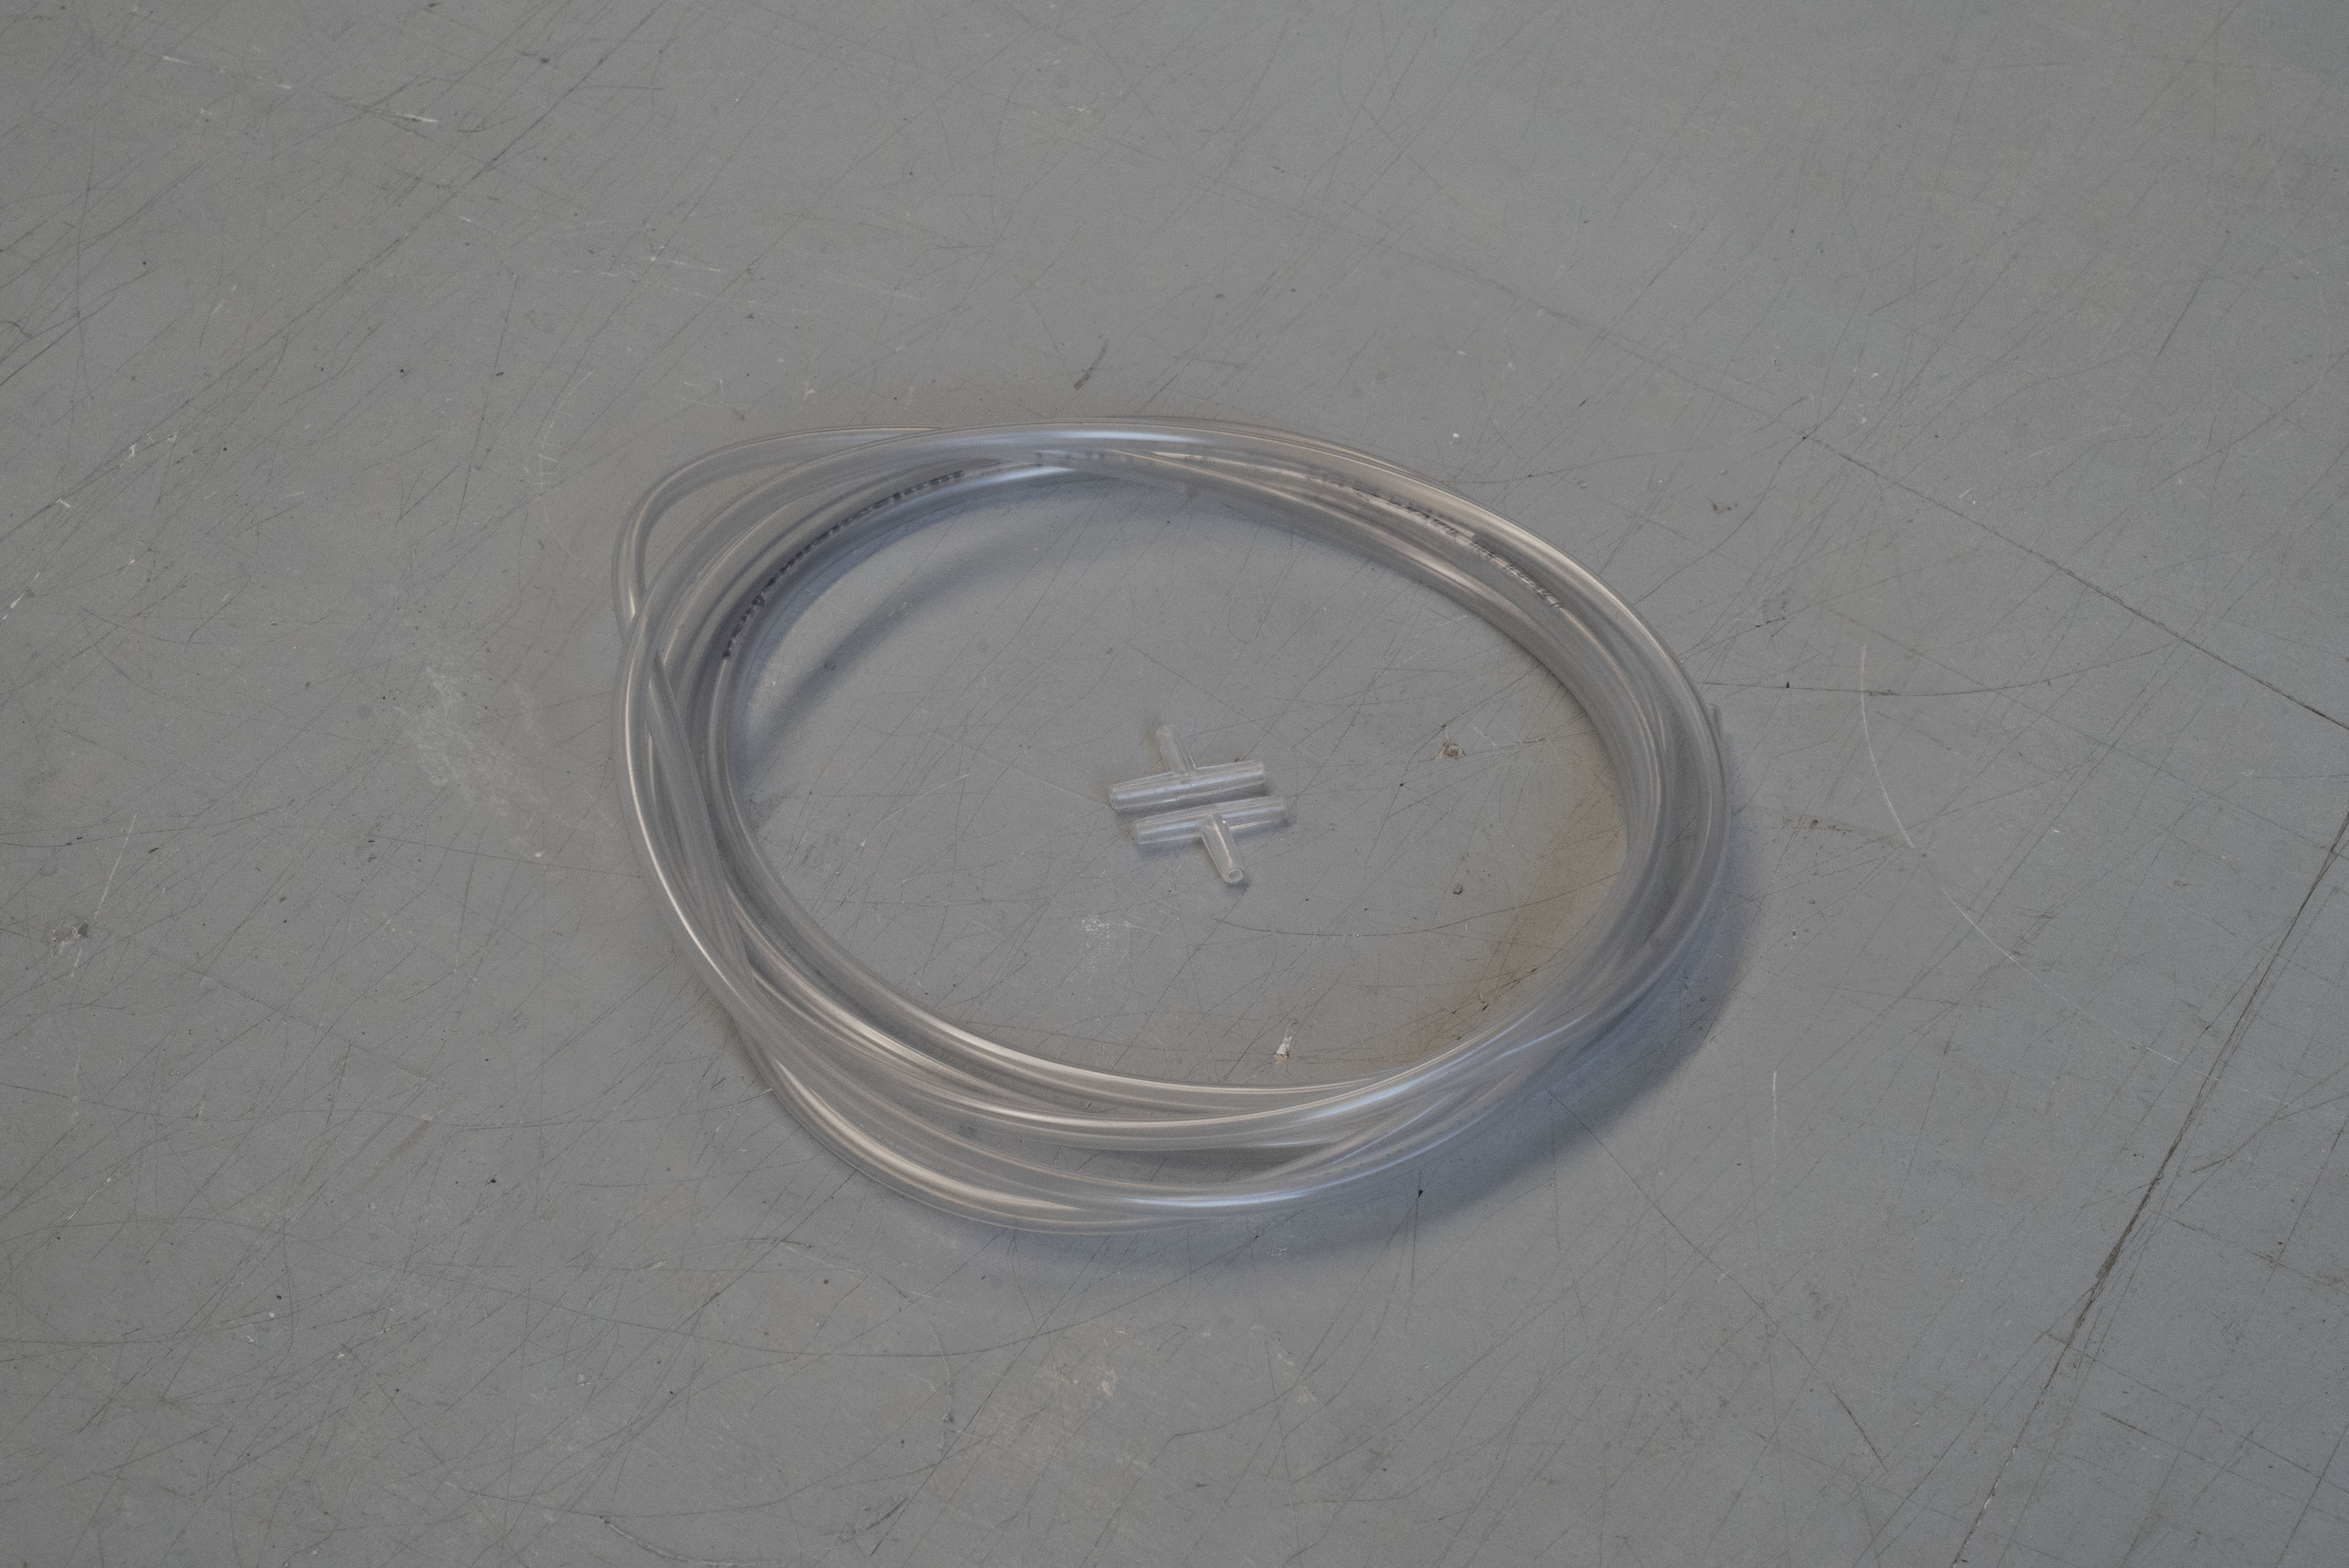
| TUBES & VALVES | 4m | €5 |
| ARDUINO NANO RP2040 | 1 | €33 |
| BREADBOARD + JUMPER | 1 | €8 |
| CO2 SENSOR | 1 | ~€20 |
| TEMPERATURE SENSOR | 1 | €2 |
| 5µm FILTER | 1 | €12 |
| TOT: | €110 |
INSTRUCTIONS
- Carry out the first 4 steps of the BASIC version.
- Make the electrical connections according to the diagram.
- Open the Arduino IDE app on your PC and open a new Sketch on which to paste the code shared on the SPIRA website.
- Connect the Arduino to your PC and upload the code via the Arduino IoT platform.
- The .STL file for 3D printing the case to house the electronic components is also provided.
APPENDIX - WIRING

APPENDIX - CODING
#include <WiFiNINA.h>
char ssid[] = SECRET_SSID; // Insert your WiFi
namechar pass[] = SECRET_OPTIONAL_PASS; // Insert your WiFi password
// DHT sensor library - Version: 1.4.4
#include <DHT.h>
#include <DHT_U.h>
// Mhz19 - Version: Latest
#include <Mhz19.h>
#include "thingProperties.h"
#define DHTPIN A3 // DHT11 pin
#define DHTTYPE DHT11 // type of DHT11
DHT dht(DHTPIN, DHTTYPE);
Mhz19 sensor1;
void setup() {
// Initialize serial and wait for port to open:
Serial.begin(9600);
while (!Serial);
// WiFi
Serial.print("Connecting to ");
Serial.println(ssid);
if (WiFi.begin(ssid, pass) == WL_CONNECTED) { Serial.println("Connected to WiFi!"); printWiFiDetails();
} else {
Serial.println("Failed to connect to WiFi. Check your SSID and password."); }
// Init sensor CO2
sensor1.begin(&Serial1); sensor1.setMeasuringRange(Mhz19MeasuringRange::Ppm_5000);
// Init sensor DHT11
dht.begin();
// Defined in thingProperties.h
initProperties();
// Connect to Arduino IoT Cloud ArduinoCloud.begin(ArduinoIoTPreferredConnection);
// Debug information
setDebugMessageLevel(2); ArduinoCloud.printDebugInfo();
// Preheat sensors
Serial.println("Preheating...");
delay(60000);
// wait 60s to preheat
Serial.println("Ready...");}
void loop() {
ArduinoCloud.update(); // read values every 5s
if (millis() % 5000 == 0) {
readSensors();
}
}
void readSensors() {
// Lettura CO2
int co2_value = sensor1.getCarbonDioxide();
if (co2_value >= 0) {
CO2 = co2_value; // update Variable on Arduino IoT
}
// read Temperature & Humidity
float h = dht.readHumidity();
float t = dht.readTemperature();
// check if values are ok
if (!isnan(h) && !isnan(t)) {
Humidity = h;
Temperature = t;
}
}
void printWiFiDetails() {
// Print IP Address
Serial.print("IP Address: "); Serial.println(WiFi.localIP())
// Print RSSI Signal
Serial.print("Signal strength (RSSI): "); Serial.print(WiFi.RSSI());
Serial.println(" dBm");
}
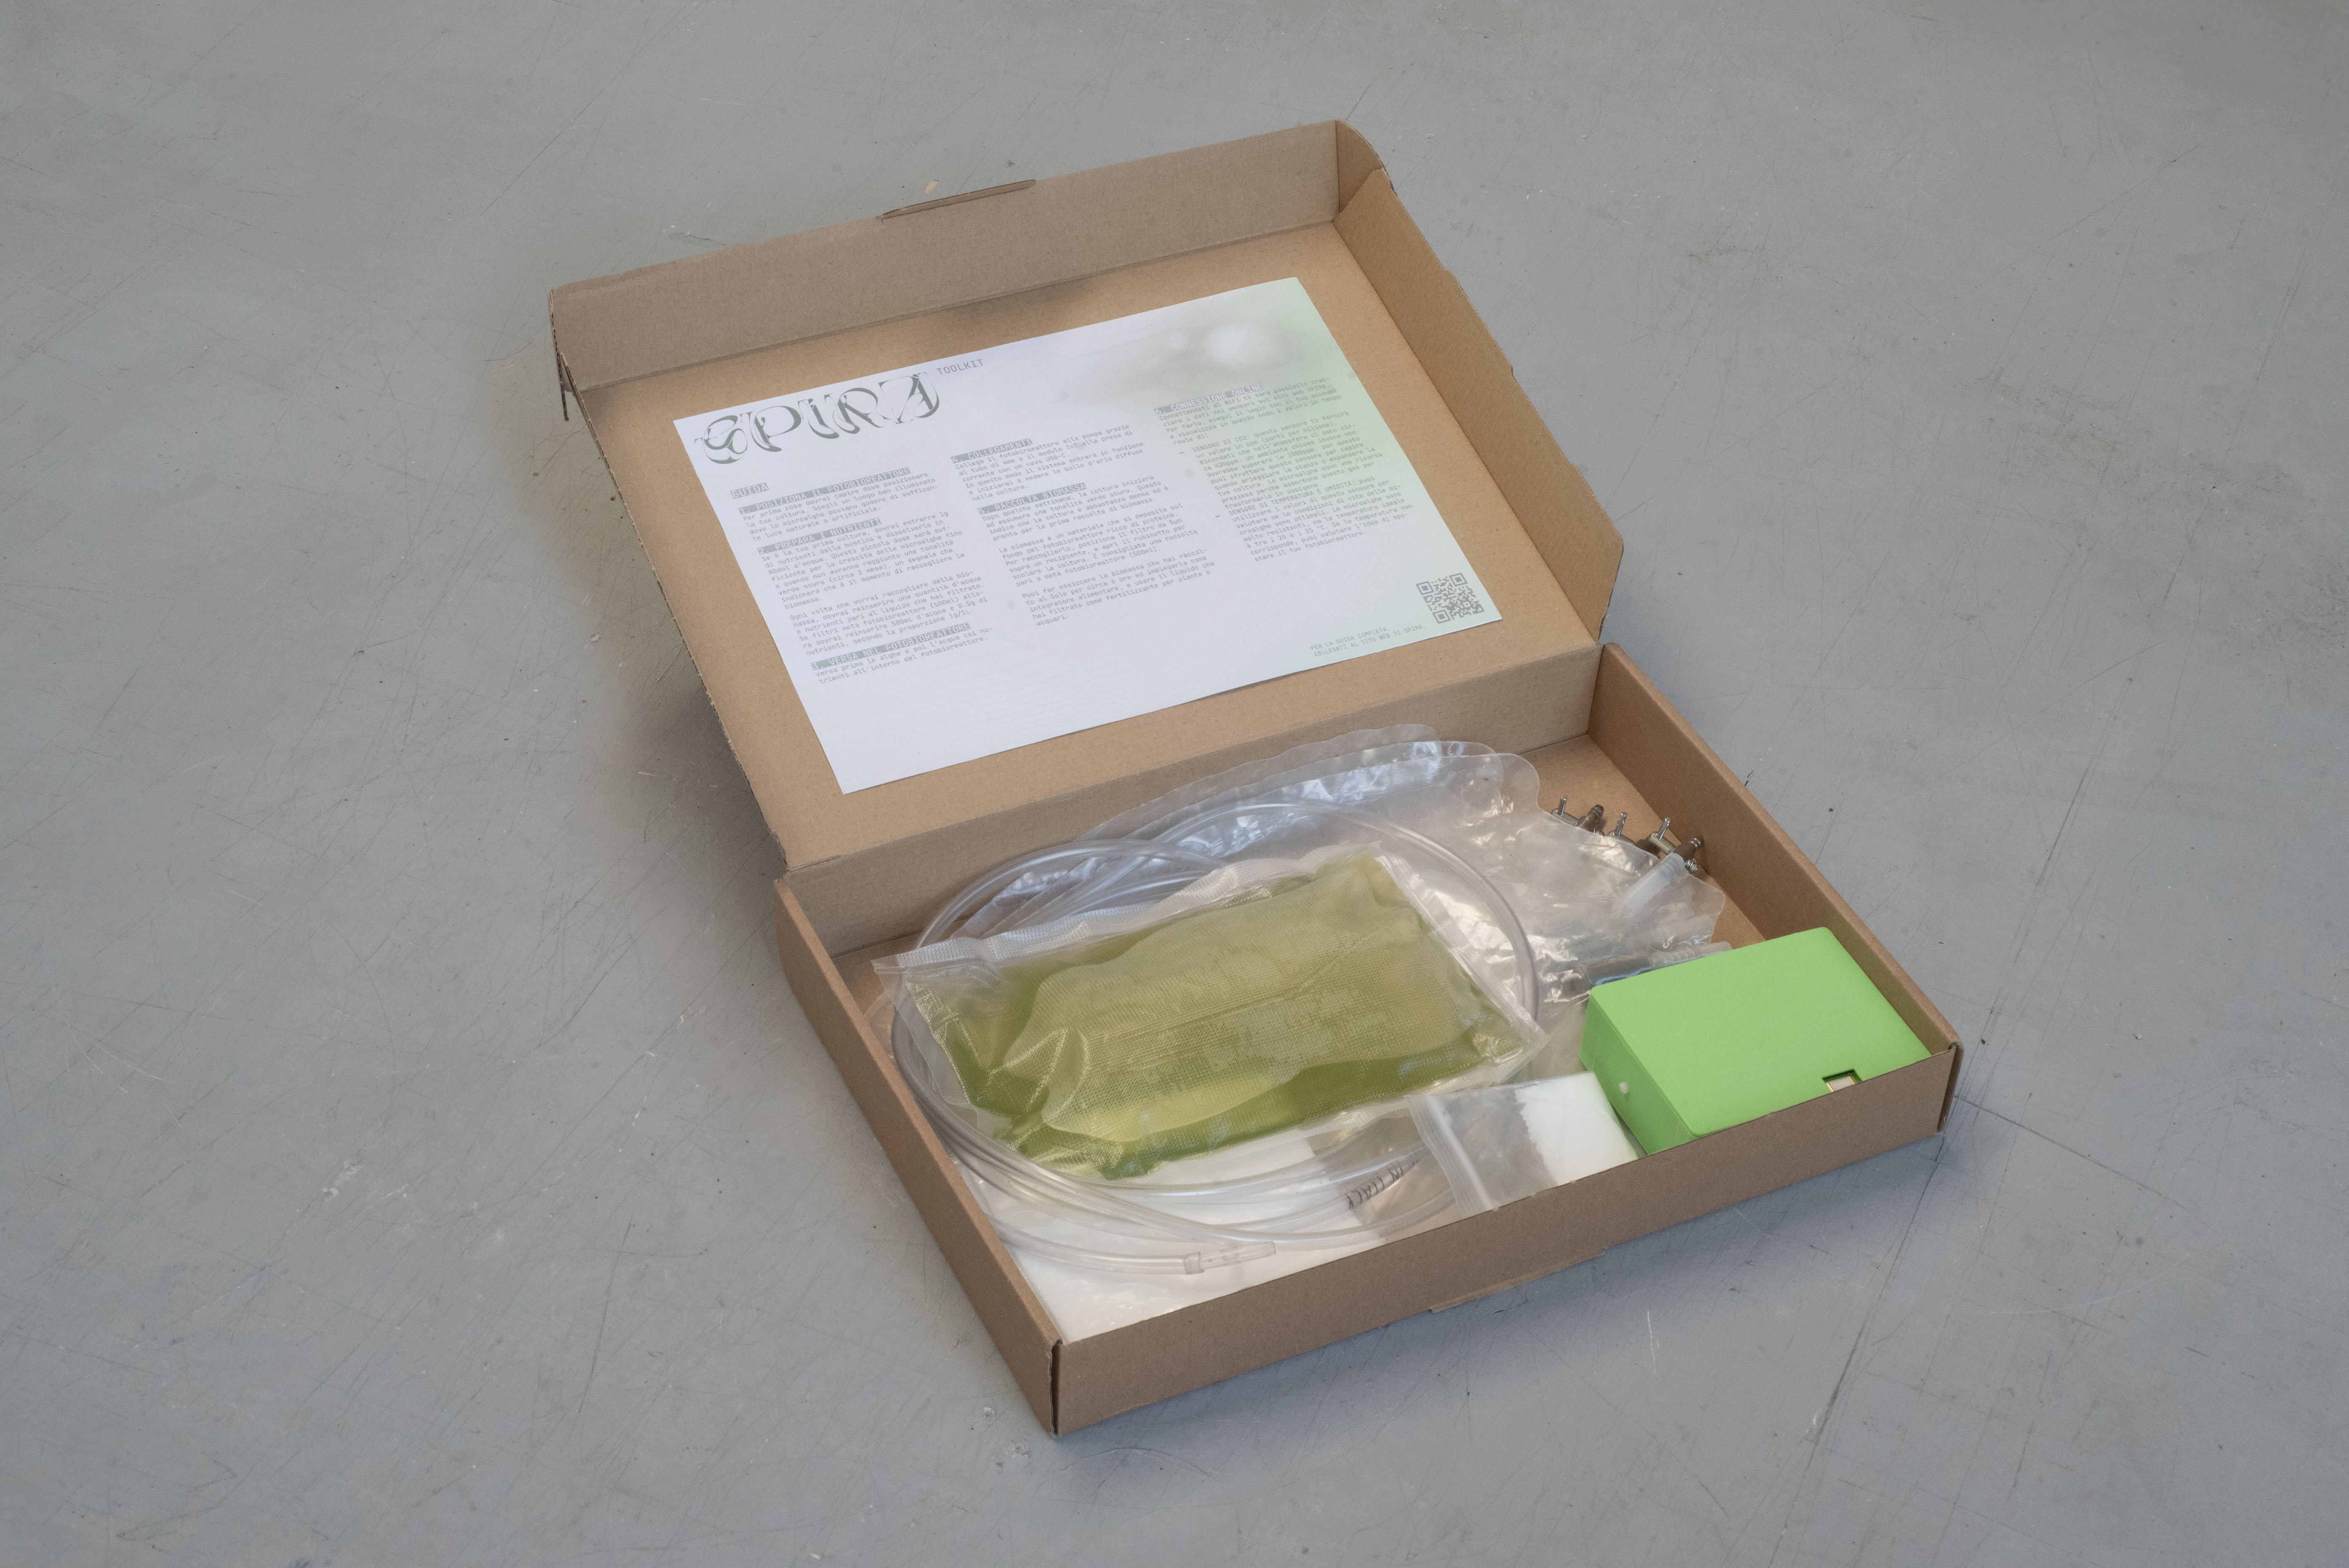
SPIRA: TOOLKIT


The SPIRA Toolkit is a complete reference for anyone wishing to cultivate microalgae.
The kit is designed to be intuitive and affordable, guiding the user step by step through the cultivation of microalgae.
The kit is designed to be intuitive and affordable, guiding the user step by step through the cultivation of microalgae.
TOOLKIT
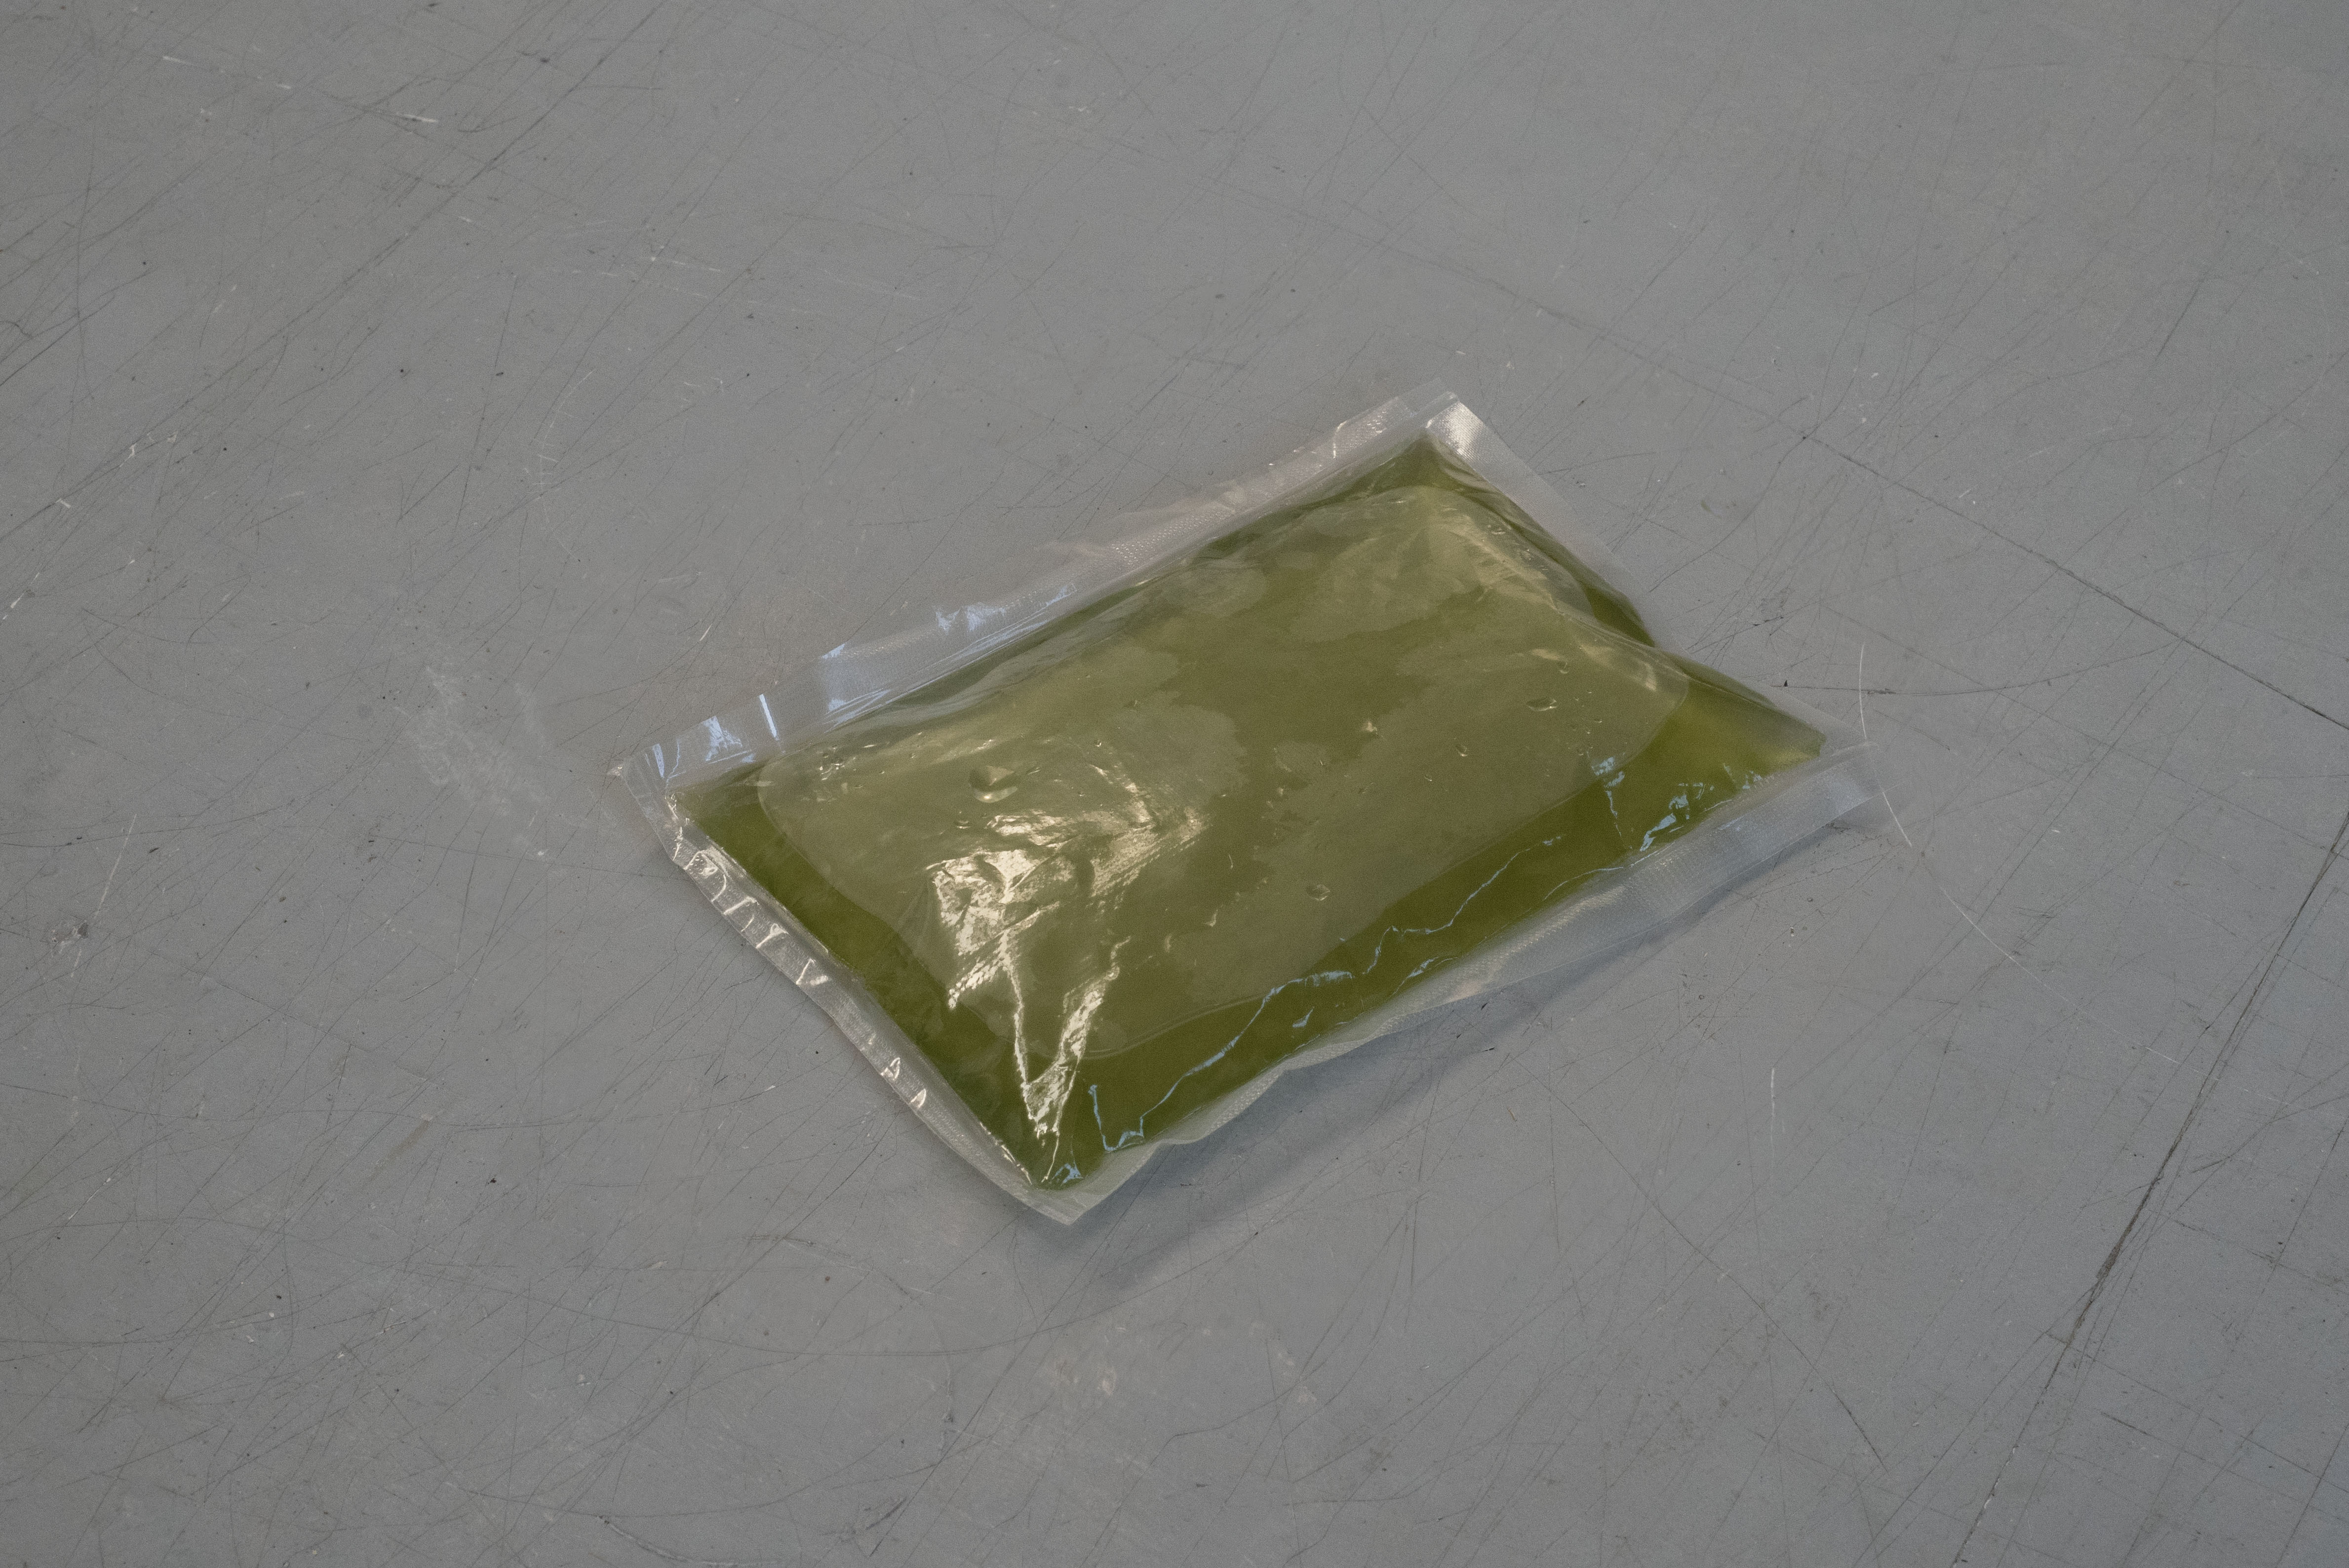
MICROALGAE
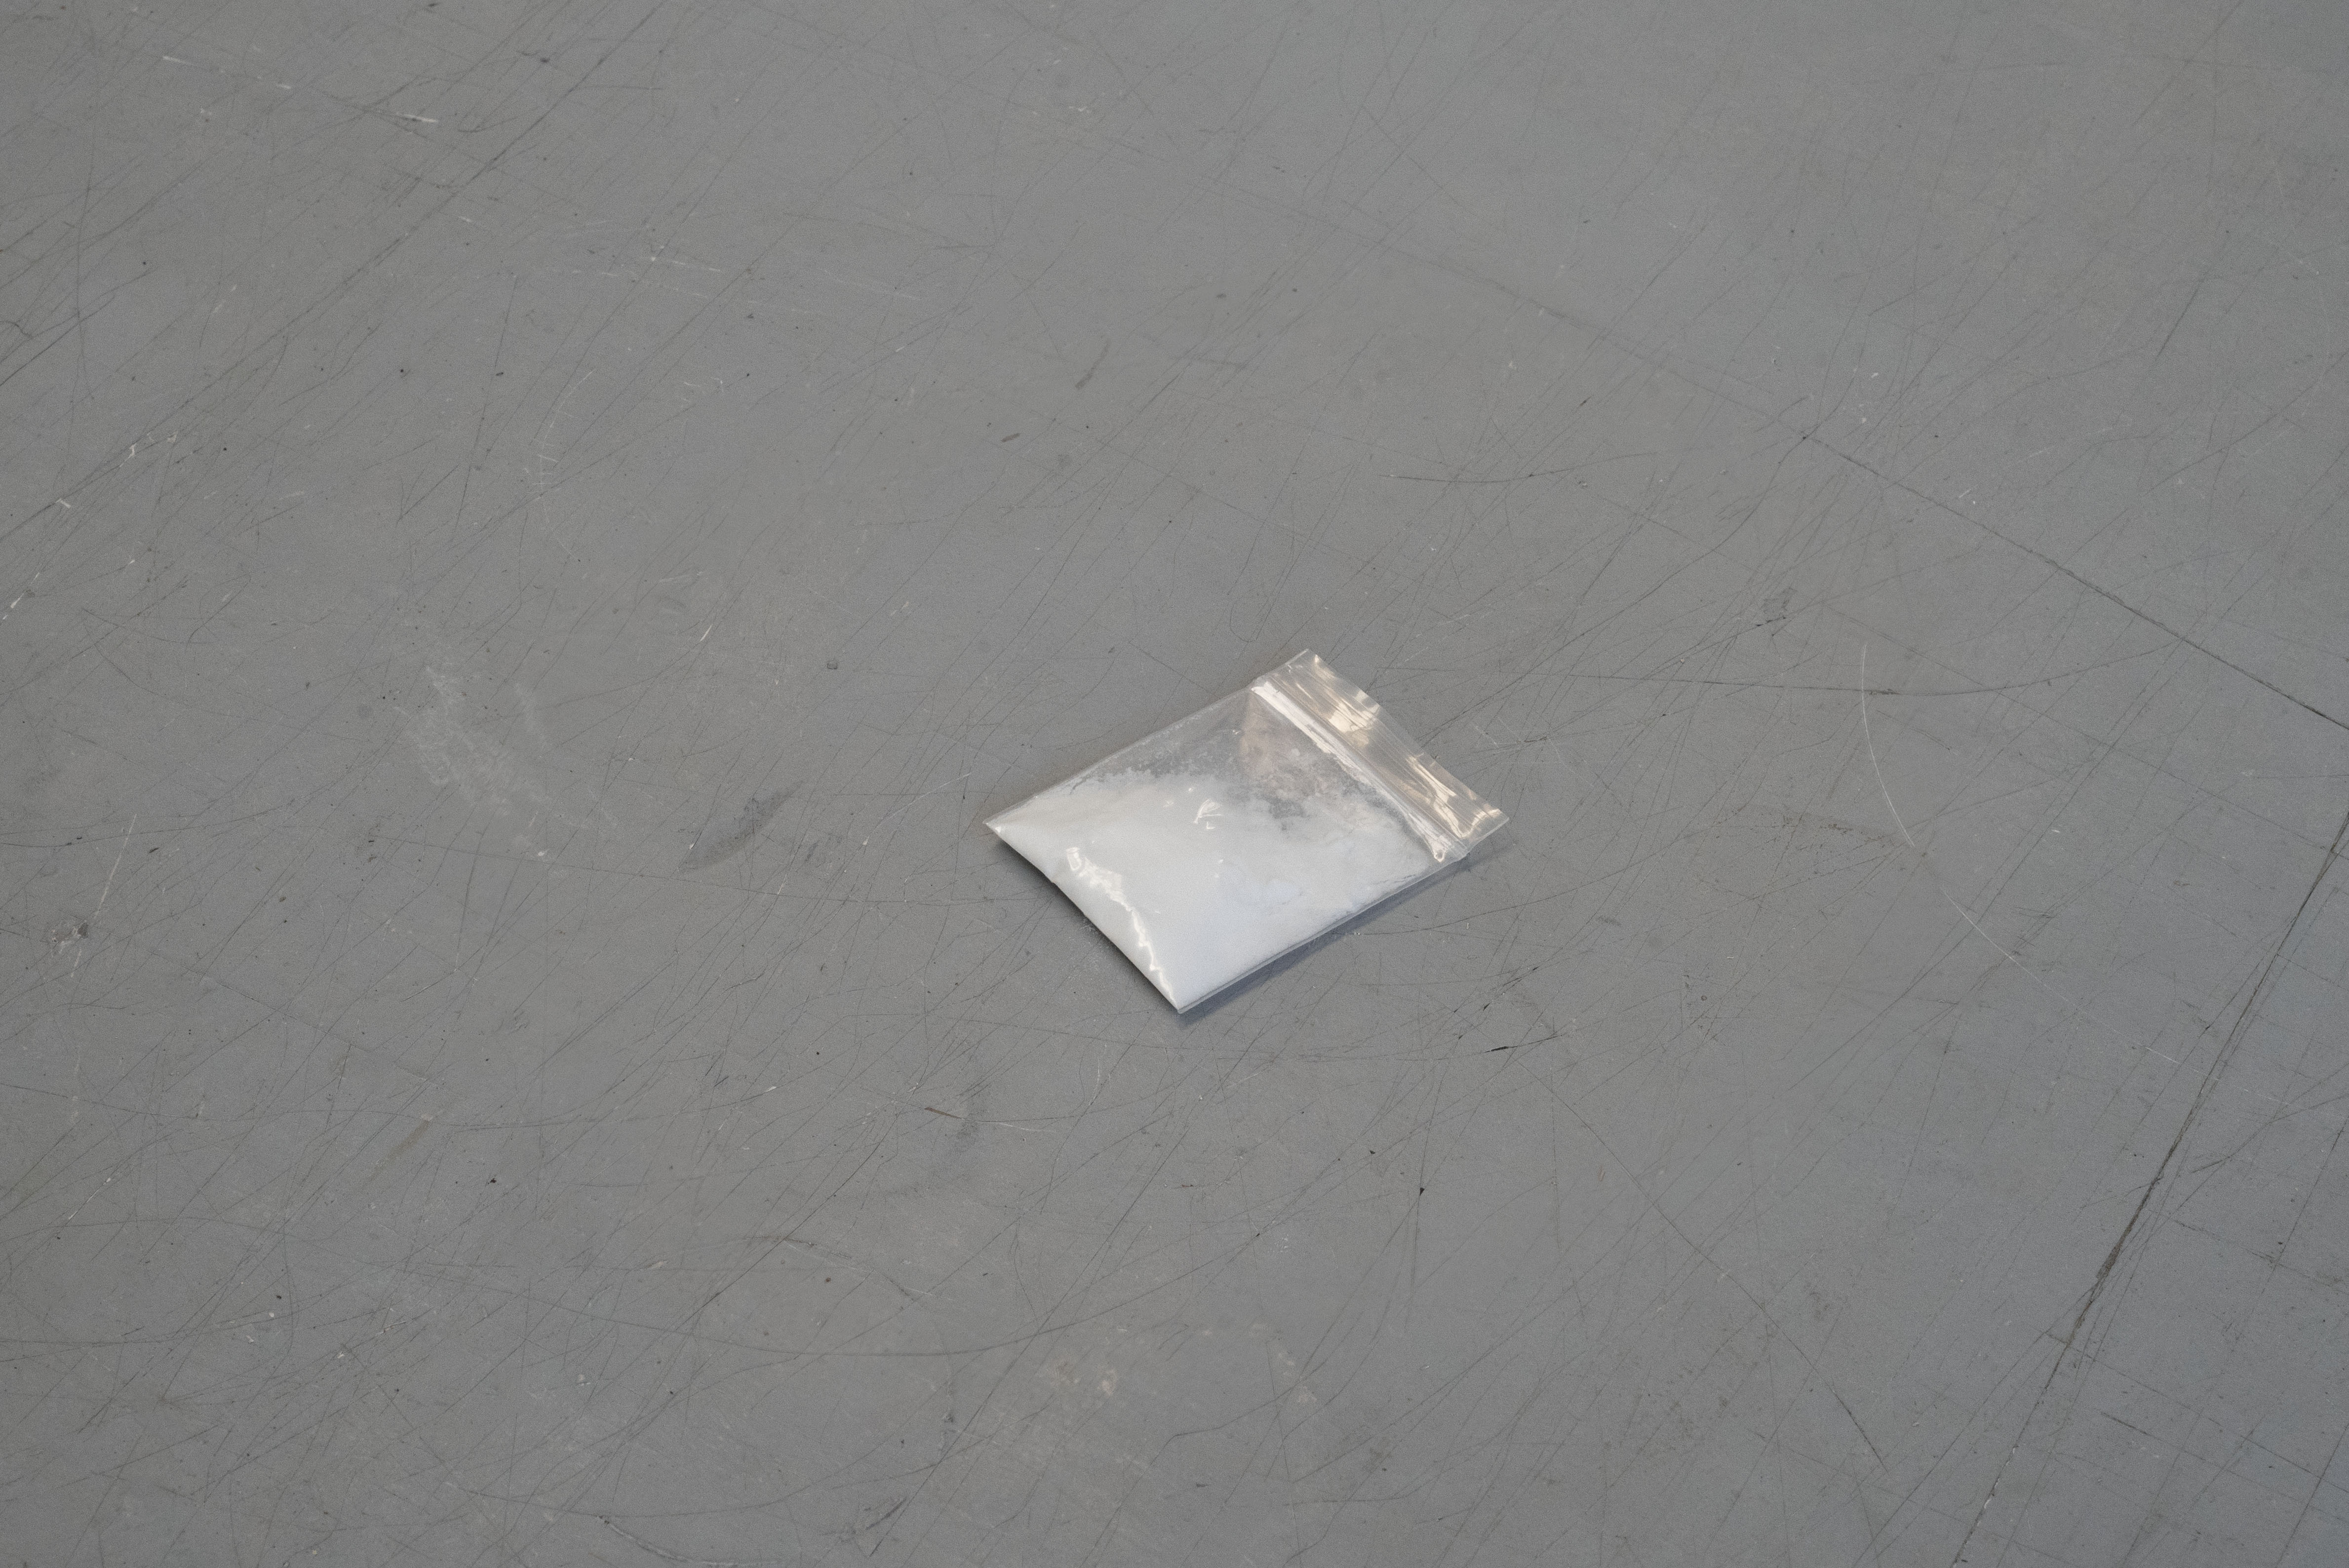
NUTRIENTS
FILTERS
PBRs
AERATION